Factory Accept Testing and Inspection
Witness of Factory Accept Testing and Inspection (FAT)
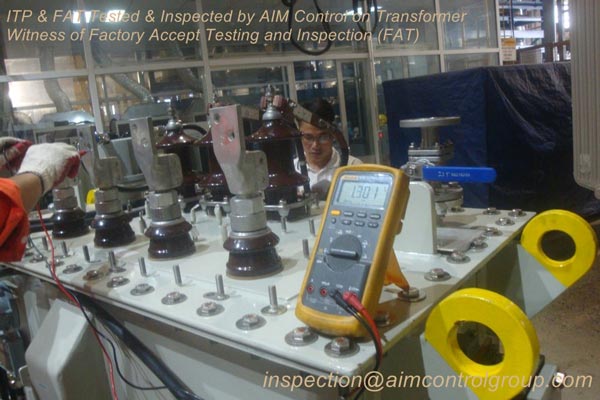
The Factory Accept Testing and Inspection are carried out by AIM Control's Mechanical and Electrical inspectors together QC of vendor with the measurement & tools of testing calibrated at the site of final stage of project for approval. (before packing for shipping or delivery to main contract, owner)
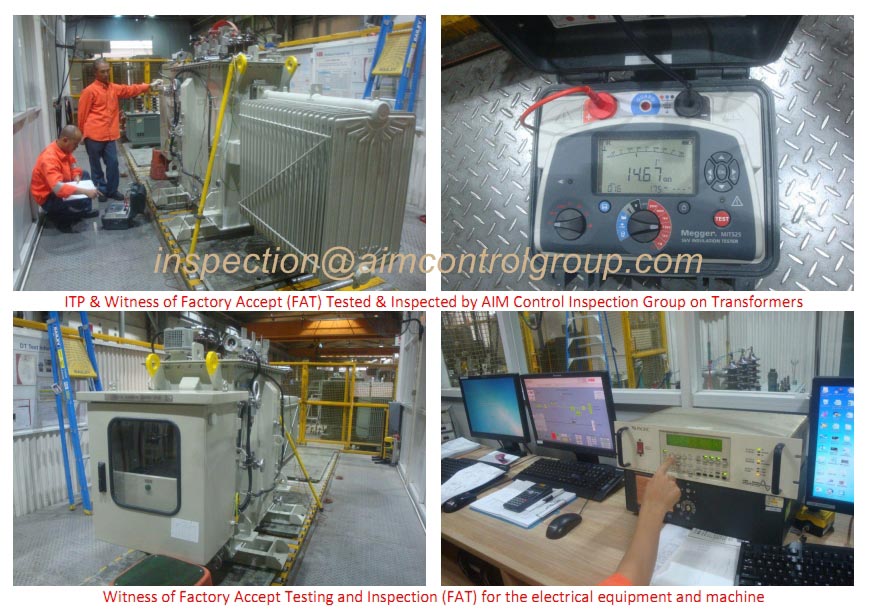
AIM Control (AIM Group®) expediting is a leader in providing inspections to Heavy Industry Project Fabrication and Oil & Gas Project at Vendor manufacture as Inspection Testing Plan (ITP) or Factory Accept Testing and Inspection (FAT) Based in Vietnam, China, India, Korea, Asia, Europe, the Middle East Anywhere of Countries. Our Local.
-
Every component of machine for the operation and functioning
-
Drawing of machine
-
Calibration
-
Other qualification and certificates
-
Safety controls
-
Signal and critical control points
Some FAT Visual Test & inspection done by AIM Control:
-
Witness of factory accept testing and Inspection carried out in accordance with applicable FAT procedure.
-
To result for accepted without deviation; Accepted with deviation; Reject with NOR.
-
To confirm if having received quality documents related to FAT from the project coordinator (POS, G/A DWG, FAT Procedure, etc.)
-
To check the revision No. of vendor’s drawing referring to FAT (Factory Acceptance Test)
-
To confirm if materials and component certificates used for the equipment are in compliance with project requirements.
-
To request that a product certificate or work certificate of equipment shall be submitted to contractor.
-
To confirm the dimensional condition including tie-in points (X,Y,Z: ± Deviation) and obtain check sheet of it.
-
To check the visual condition of welded part.
-
To confirm the extent of NDE and its result NDT report
-
To check IP rating of electrical equipment.
-
To check name plate and tag no. details against data sheet.
-
To request vendor to submit the oil flushing certificate used for the test in accordance with requirement.
-
To request vendor to submit the calibration record of PSV (Pressure Safety Valve) fitted on equipment
-
To request vendor to submit the noise and vibration check sheet for equipment.
-
To check that the final colour of equipment is correct as per spec. and review painting check sheet for DFT.
-
To report and picture in details
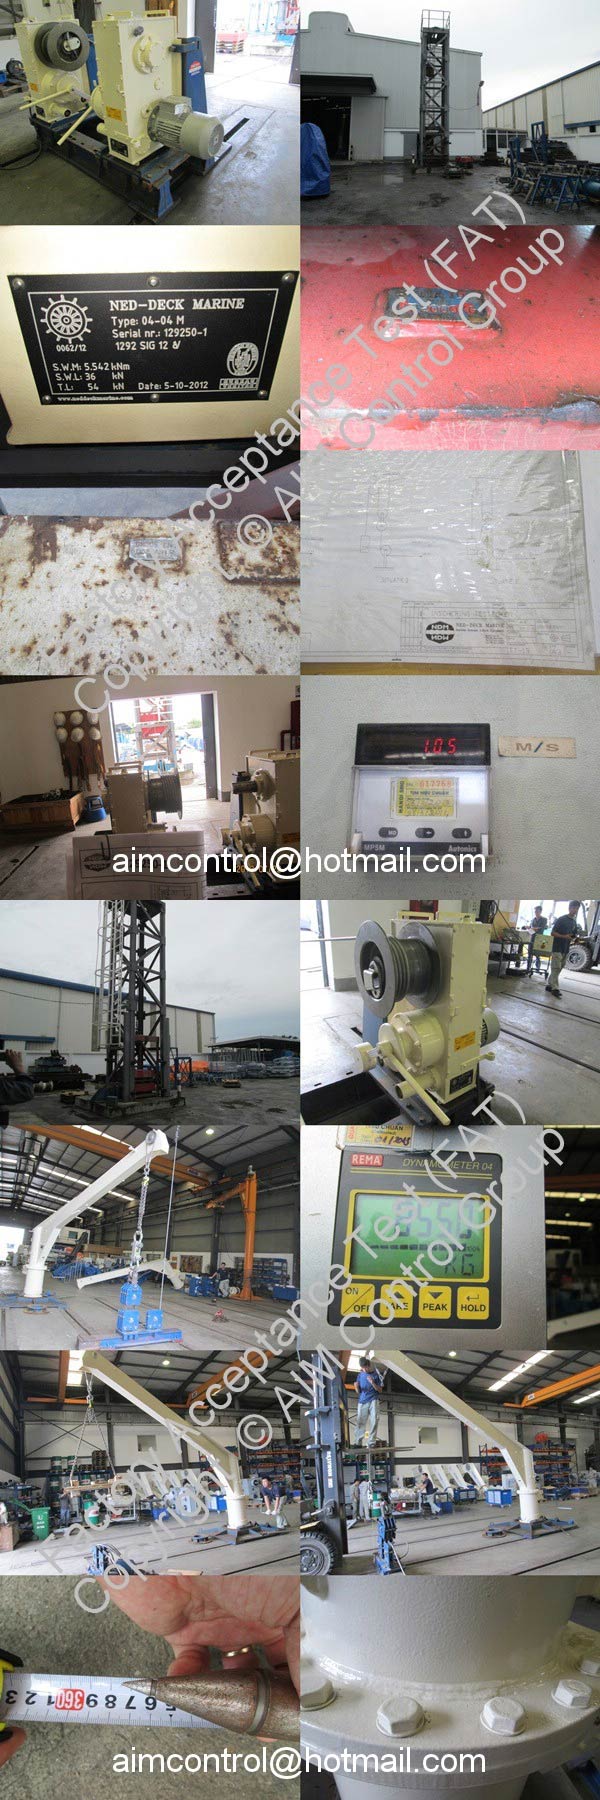
Some witness of FAT Function Test & Inspection:
-
To load test.
-
To over speed test
-
To load measurement-Over load test witness and inspection.
-
To slewing test
-
To first running: check of bearing test
-
To vibration measurement at no load condition
-
To brake test
-
To air gap measurement and bearing clearance.
-
To insulation resistance measurement.
-
To direction of rotation, phase sequence test.
-
To short circuit test.
-
To test with voltage regulator.
-
To high voltage test.
-
To measurement of power factor.
-
To temperature rising test.
-
To measurement of inertia.
-
Others

AIM Control's Engineers & Inspectors:
- Electrical Engineers Inspectors
- Mechanical Engineers Inspectors
- Quality Control manager
Other activity :
